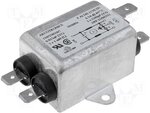
Common flourescent tubes are a popular lighting solution for households, industry and offices. The energy saving LED Tubes can save significant volumes of energy and costs. Longer operation time, less energy usage, no maintenance required and immediate turn-on are the main advantages of LED Tubes.
LED Tubes installation
Visually, there is no difference between common a flourescent tube and a LED Tube. But what to do when it comes to the installation? There are two possible situations: 1. You want a brand new lighting system: You can buy a light body made especially for LED tubes, e.g. LED Linear Light LENA; 2. You want to keep the light body and change the light source only - a tube: check out our installation manual for Y3 LED Tubes (the installation manual for new Y5 serie is comming soon, until then do not hesitate to contact us and ask for advice):
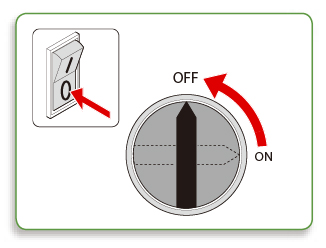
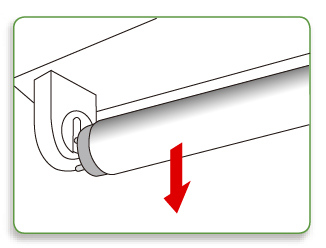
1. Turn off the light and remove the tube | |
 |  |
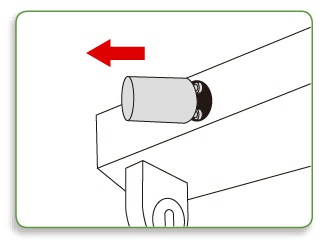
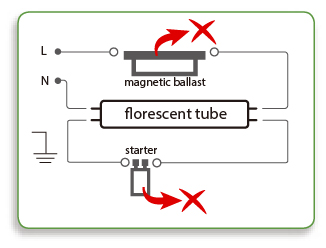
2. Disconnect the starter and magnetic ballast (driver)* | |
 |  |
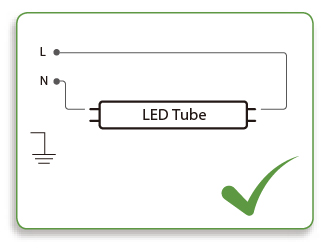
3. Modify the conductors layout and connect conductors L and N, | |
 |
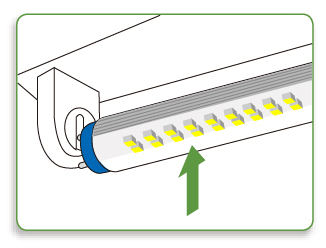
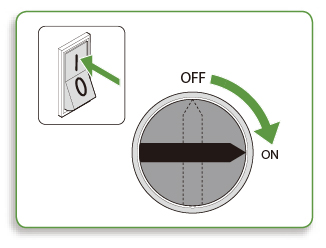
4. Install the LED Tube and turn on the light | |
 |  |
* There is a driver instelled in the majority of the light bodies. Its main duty is to make the power input stable. There can be also the starter and the magnetic ballast involved in older types. The starter turns on the flourecsent tube. Since the LED tubes have the driver involved inside, there are no extra driver, nor extra starter nor magnetic ballast needed.
If there are the magentic ballast and starter involved in the light body, it is very important to disconnect the starter. It is recommended to disconnect the magnetic ballast too, so no extra energy is used.
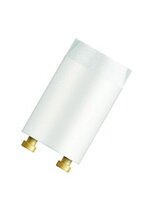 |
| 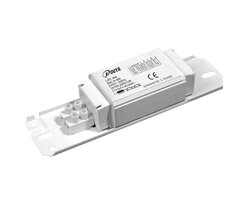 |
| Starter | Magnetic ballast | Driver |
Warning: This installation manual is an advice only. If you are not experienced and skilled in the field, you better ask for a professional help. After the modification is done, you cannot reinstall the florescent tube to the light body. Once the light body has been modified, the CE certification becomes void.
fdiv
